
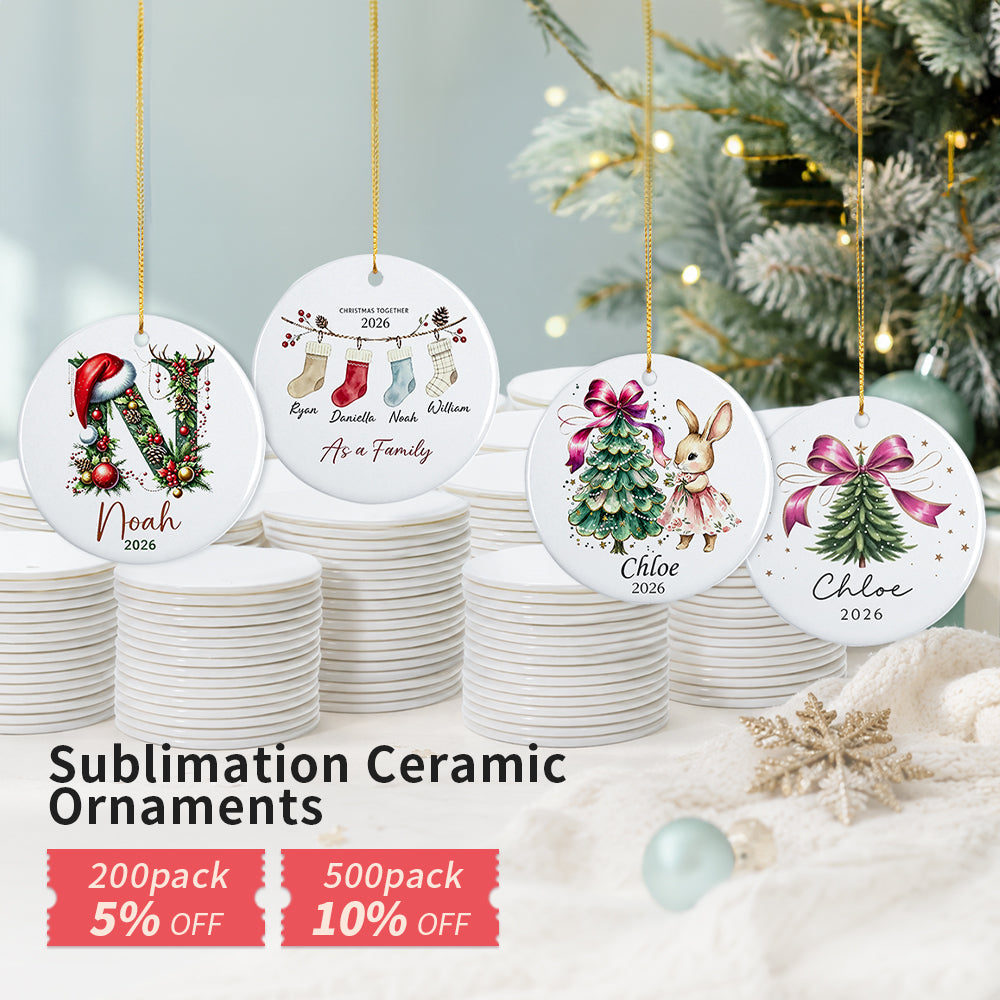
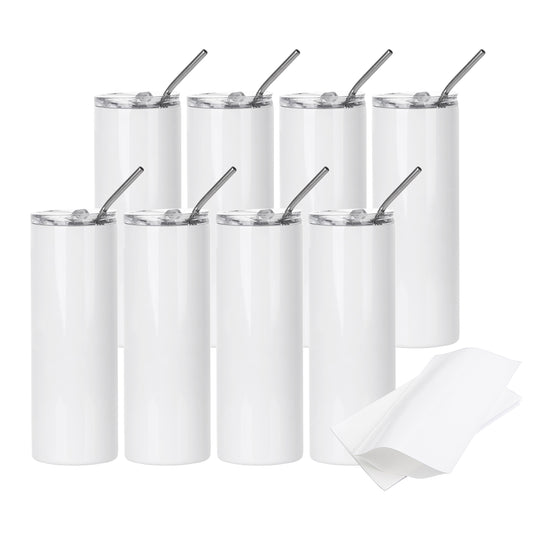
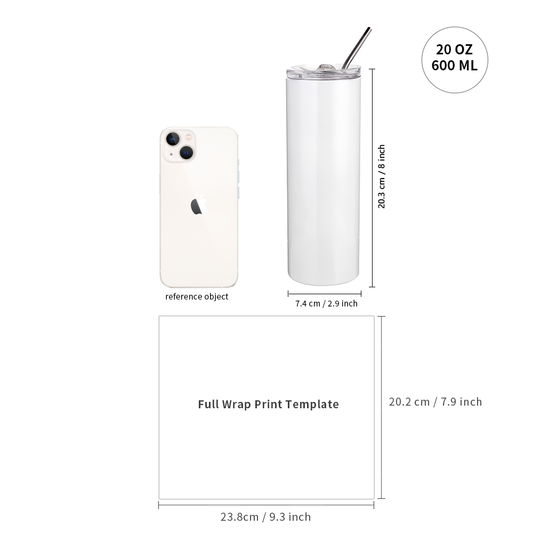
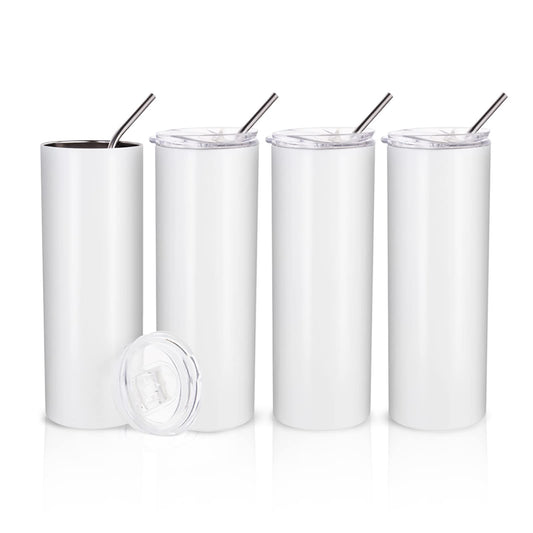
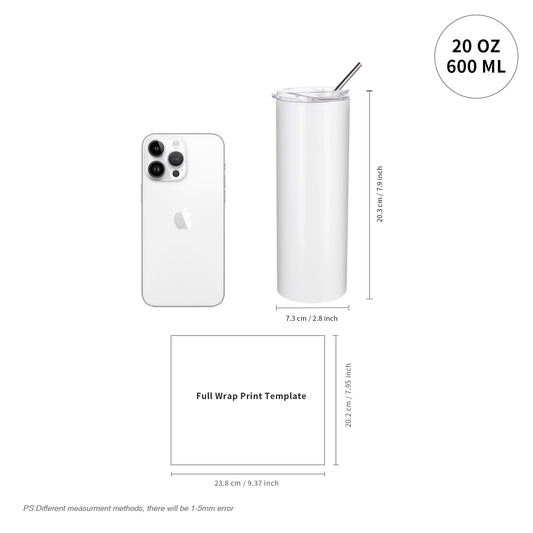
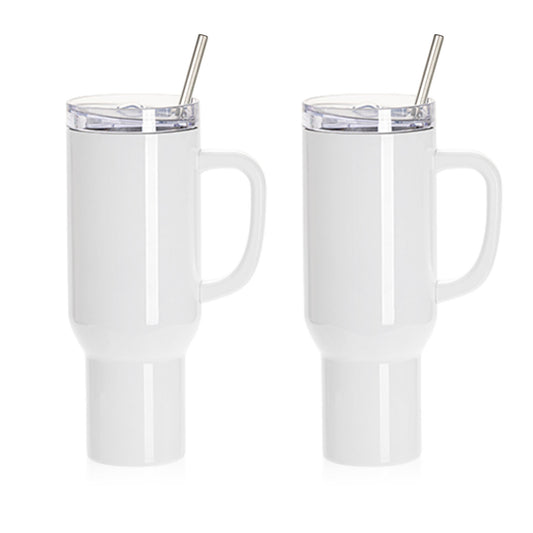
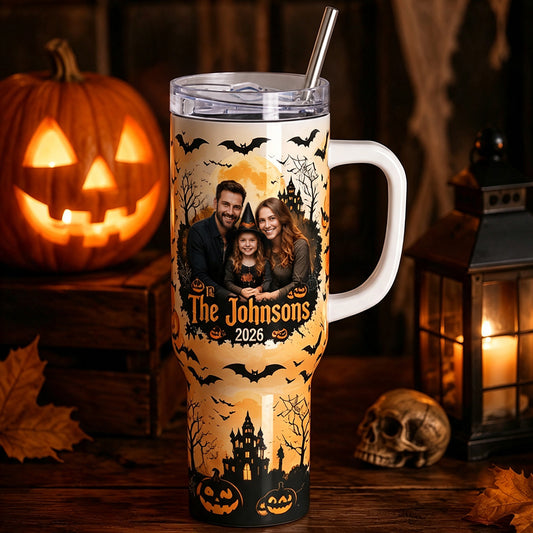
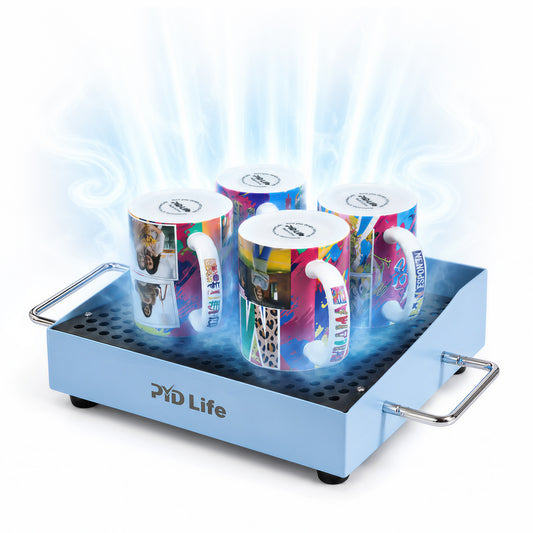
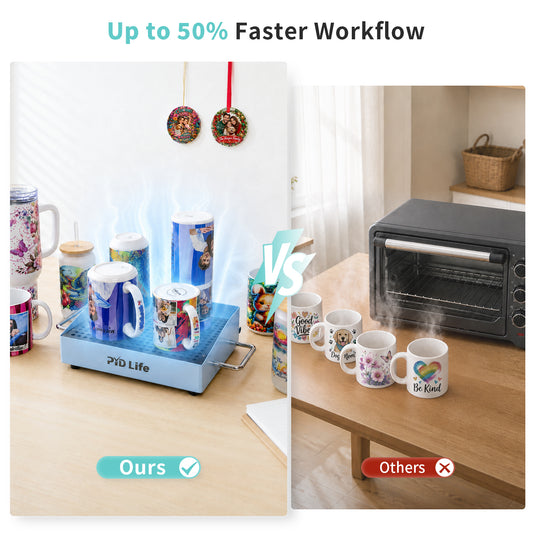

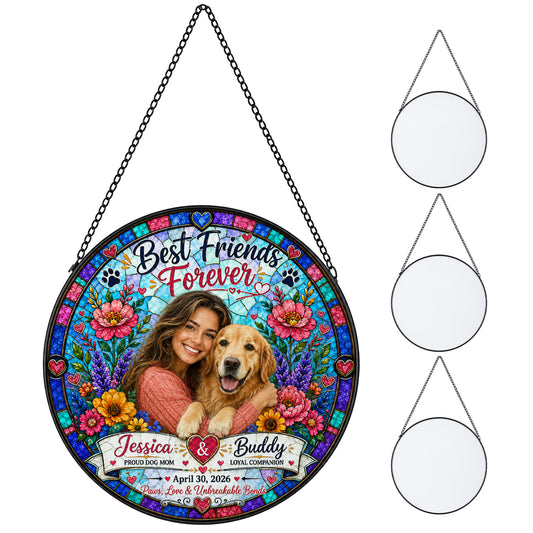
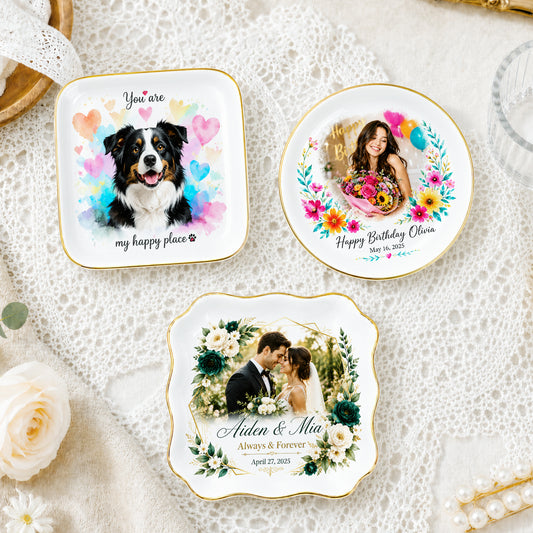
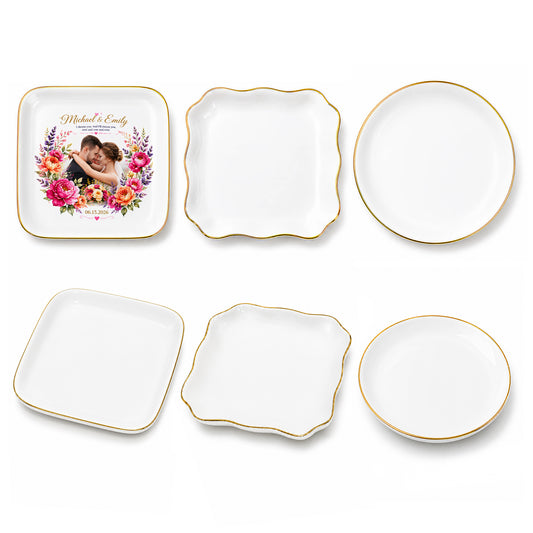
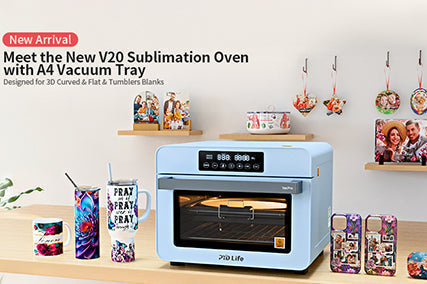
The V20 Sublimation Oven Kit is designed for creators, Etsy sellers, small businesses, and print-on-demand entrepreneurs who need a versatile solution for decorating both curved and flat sublimation blanks.
Unlike traditional mug presses or tumbler presses, the V20 combines oven heating and vacuum technology, allowing users to customize:
· Sublim Water bottles
· 3D Phone cases
· Photo slates
· Ceramic plates
· Ceramic ornaments
With one machine, you can create personalized products for gifts, online stores, corporate branding, and custom merchandise.

What Comes in the V20 Sublimation Oven Kit?
The V20 Kit typically includes:
· 1 x V20 20L Sublimation Oven
· 1 x A4 tray
· 10 x A4 sublimation films
· 1 x heat-resistant glove
· 1 x sublimation tape
· 15 x shrink wrap films
The built-in vacuum system applies consistent pressure across curved and flat surfaces, helping reduce ghosting and uneven transfers.

Step 1: Prepare Your Design
Create your artwork using:
· Canva
· Adobe Photoshop
· Adobe Illustrator
· CorelDRAW
Before printing:
· Mirror the design
· Use high-quality sublimation paper
· Print with sublimation ink
· Ensure correct sizing for the blank
For tumblers and mugs, wrap-around designs should align cleanly at the seam.
Step 2: Prepare Your Sublimation Blank
Before transferring:
1. Remove dust and fingerprints.
2. Clean metal or glass surfaces with alcohol.
3. Secure printed paper using heat-resistant tape.
4. Apply shrink wrap if needed.
5. Check that the transfer paper sits tightly against the surface.
Proper contact is one of the biggest factors affecting color vibrancy and image sharpness.
Step 3: Set Up the V20 Sublimation Oven
For Tumblers and Drinkware
Insert the wrapped tumbler into the oven.
Recommended starting settings:

These settings are common starting points and should be adjusted based on blank coating quality and design coverage.
For 3D printing sublimation blank

Oven sublimation is especially useful when producing multiple mugs at once.
For Flat Items Using Vacuum Tray
The V20 vacuum tray enables printing on:
· Phone cases
· Photo slates
· Ceramic ornaments
· Ceramic plate
Place the item inside the vacuum tray and activate the vacuum system before starting the heating cycle.
Step 4: Start the Transfer Process
After setting temperature and time:
1. Preheat the V20.
2. Load the blanks.
3. Start the vacuum system (for 3D flat items).
4. Begin heating cycle.
5. Wait until the timer finishes.
The combination of heat and vacuum pressure helps ensure even image transfer across curved and irregular surfaces.
Step 5: Cooling and Finishing
When the cycle ends:
· Wear heat-resistant gloves.
· Remove blanks carefully.
· Place on a cooling rack.
· Allow products to cool naturally.
· Remove shrink wrap and transfer paper.
Cooling properly helps prevent dye migration and image distortion.

What Can You Make With the V20 Sublimation Oven?
Drinkware
· 11oz Sublimation Mugs
· 15oz Sublimation Mugs
· 20oz Sublimation Tumblers
· 30oz Sublimation Tumblers
· Sublimation Water Bottles
· Sublimation Beer Mugs
Home Decor
· 3D Photo Case
· Photo Slates
· Ceramic Plates
· Ceramic Ornaments
Seasonal Products
· Christmas Ornaments
· Mother's Day Gifts
· Father's Day Gifts
· Wedding Favors
One machine can support dozens of product categories, making it ideal for home businesses and Etsy shops.

Why Choose the V20 Instead of a Tumbler Press?
|
Feature |
V20 Oven Kit |
Tumbler Press |
|
Tumblers |
✓ |
✓ |
|
Mugs |
✓ |
Limited |
|
Water Bottles |
✓ |
Limited |
|
Phone Cases |
✓ |
× |
|
Photo Slates |
✓ |
× |
|
Batch Production |
✓ |
× |
|
Full Wrap Printing |
✓ |
× |
|
Vacuum Function |
✓ |
× |
A tumbler press is designed for specific drinkware sizes, while a sublimation oven can accommodate a wider variety of blanks and full-wrap projects. Community discussions also frequently recommend oven workflows when working with different tumbler shapes and sizes.

Common Troubleshooting Tips
Colors Look Faded
Possible causes:
· Temperature too low
· Time too short
· Poor paper contact
Increase temperature slightly or extend transfer time.
Ghosting Appears
Possible causes:
· Paper movement
· Loose shrink wrap
· Improper taping
Ensure tight wrapping and secure all edges before heating.
Yellowing or Scorching
Possible causes:
· Excessive temperature
· Excessive heating time
Reduce settings in small increments and test one blank before running production batches.
