

How to Make a Perfect 20oz Sublimation Tumbler?
If you've ever wondered:
· Why do some sublimation tumblers look vibrant while others appear faded?
· Why do ghosting lines show up after pressing?
· What's the best temperature and time for a 20oz sublimation tumbler?
· How can you achieve professional-quality results every time?
You're not alone.
The 20oz sublimation tumbler is one of the most popular products in the personalized gift and print-on-demand industry. Whether you're creating custom tumblers for Etsy, Amazon, craft fairs, corporate gifts, or your own brand, mastering the sublimation process can dramatically improve your product quality and customer satisfaction.
This guide will walk you through everything you need to know to create a flawless 20oz sublimation tumbler—from design preparation to troubleshooting common mistakes.
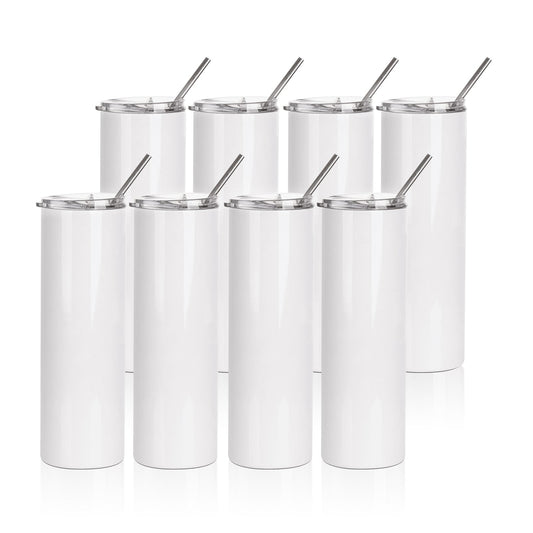
What Is a Sublimation Tumbler?
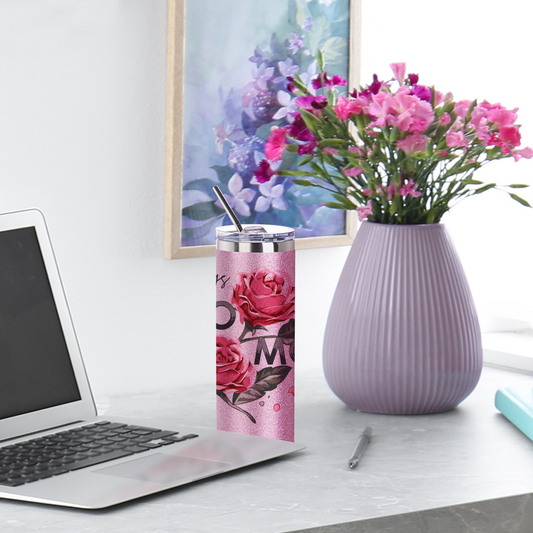
A sublimation tumbler is a specially coated stainless steel tumbler that allows sublimation ink to permanently bond with its surface when exposed to heat and pressure.
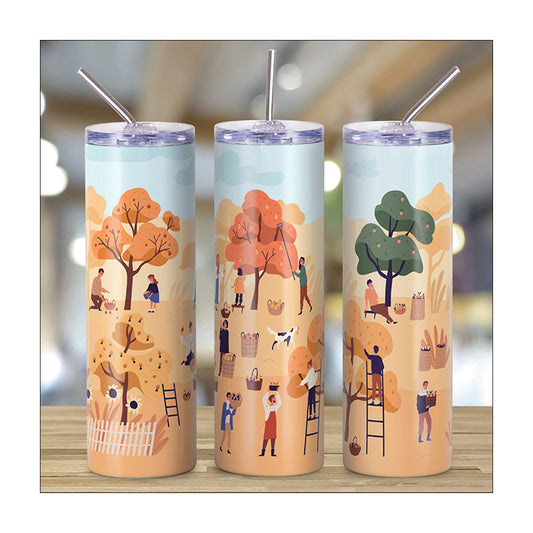
Unlike vinyl decals or stickers, sublimation creates:
✅ Full-wrap designs
✅ Permanent images that won't peel
✅ Vibrant colors and sharp details
This makes sublimation tumblers one of the most profitable and durable personalized products available today.
What Do You Need to Sublimate a 20oz Tumbler?
Before you begin, make sure you have the right supplies.
Essential Equipment
· Sublimation printer
· Sublimation ink
· Shrink wrap film (for oven method)
· Tumbler press or sublimation oven
Optional Tools
· Lint roller
· Alcohol wipes
· Measuring tape
· Design software such as Canva, Photoshop, or Illustrator
The better your preparation, the better your final result.

Step 1: Create and Print Your Design
Before printing:
Have You Mirrored the Design?
This is one of the most overlooked steps.
Because the image transfers face-down onto the tumbler, your artwork should be mirrored before printing.
Are You Using Sublimation Ink?
Regular ink will not work.
Only sublimation ink can convert into gas and permanently bond with the tumbler's coating.
Is Your Print Quality Set to High?
Higher print settings generally produce richer colors and sharper details.
For the best results:
· Use premium sublimation paper
· Select high-quality print settings
· Allow the print to dry completely
Step 2: Prepare the Tumbler Surface
Many print defects start before the heating process even begins.
Is Your Tumbler Clean?
Dust, fingerprints, or oils can interfere with ink transfer.
Before applying the design:
1. Wipe the tumbler with alcohol.
2. Remove dust using a lint-free cloth.
3. Avoid touching the printable area afterward.
Is the Paper Wrapped Tightly?
A loose transfer can cause:
· Ghosting
· Blurry edges
· Double images
· Uneven colors
The paper should sit tightly against the tumbler with no gaps or wrinkles.
 Step 3: Secure the Design Properly
Ask yourself:
Can the Design Move During Pressing?
If the answer is yes, ghosting may occur.
Use heat-resistant tape to secure:
· Top edge
· Bottom edge
· Seam area
Every part of the transfer should remain firmly in place throughout the heating cycle.
 Step 4: Choose the Right Sublimation Method
There are two popular methods for sublimating 20oz tumblers.
Method 1: Tumbler Heat Press
Ideal for:
· Beginners
· Small businesses
· Single tumbler production
Recommended Starting Settings
· Temperature: 356°F
· Time: 60 seconds per side
Since every tumbler coating is different, testing is always recommended.
Advantages
· Fast workflow
· Easy setup
· Consistent pressure
Limitations
· One tumbler at a time
· Less flexibility for unusual drinkware shapes
 Method 2: Sublimation Oven
Ideal for:
· Batch production
· Full-wrap designs
· Growing businesses
Recommended Starting Settings
· Temperature: 356°F
· Time: 5 minutes
Use shrink wrap to apply even pressure around the entire tumbler.
Why Do Many Businesses Prefer an Oven?
Because an oven allows:
· Multiple tumblers per cycle
· More uniform transfers
· Better compatibility with various drinkware sizes
· Greater production efficiency
For sellers scaling their tumbler business, an oven workflow often becomes the preferred solution.
 Step 5: Should You Cool the Tumbler Immediately?
Yes—but carefully.
After heating:
1. Wear heat-resistant gloves.
2. Remove the tumbler carefully.
3. Place it on a cooling rack.
4. Allow it to cool naturally.
Why Is Cooling Important?
Proper cooling helps prevent:
· Dye migration
· Color distortion
· Image shifting
Avoid placing hot tumblers directly into cold water unless recommended by the tumbler manufacturer.
Why Do Sublimation Tumblers Turn Out Faded?
If your colors look weak, ask yourself:
Was the Temperature Too Low?
Low temperatures prevent the dye from fully transferring.
Was the Time Too Short?
Insufficient heating often causes faded prints.
Was the Paper Loose?
Poor contact between paper and tumbler reduces color vibrancy.
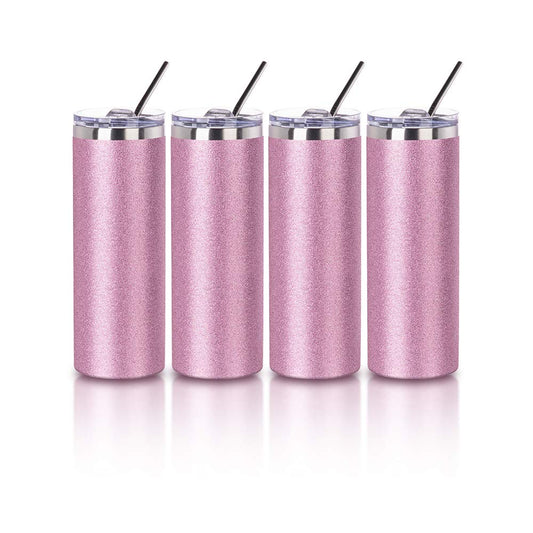
Was the Tumbler Coating High Quality?
Not all sublimation blanks are created equal.
Premium coatings generally produce:
· Better color saturation
· Sharper details
· More consistent results
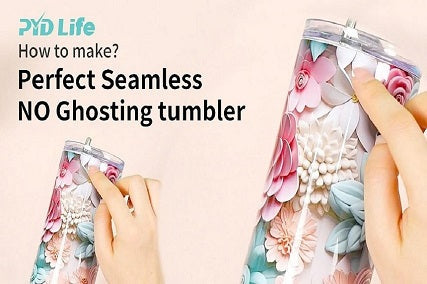
Why Does Ghosting Happen?
Ghosting is one of the most frustrating sublimation issues.
What Causes Ghosting?
Usually:
· Paper movement
· Loose shrink wrap
· Weak taping
· Handling the tumbler before cooling
How Can You Prevent It?
· Tape every edge securely.
· Use tight shrink wrap.
· Avoid shifting the transfer during removal.
· Let the tumbler cool before peeling.
Even slight movement can create visible shadows in the final image.
Can You Start a Business Selling Sublimation Tumblers?
Absolutely.
The 20oz tumbler remains one of the highest-demand personalized products because customers use them for:
· Birthday gifts
· Wedding favors
· Corporate branding
· Sports teams
· Teacher appreciation gifts
· Holiday gifts
· Small business merchandise
Many successful Etsy and Shopify sellers built their businesses around customized drinkware.
The key is consistency.
A professional-looking tumbler generates repeat customers, positive reviews, and word-of-mouth referrals.
FAQ
What temperature is best for a 20oz sublimation tumbler?
For our tumbler press, we recommend 356°F for 60 seconds per side. For the oven method, use 356°F for 5 minutes. Batch printing may require slightly longer heating. These settings are based on our cups and machines, so minor adjustments may be needed for your setup.
Can I sublimate a tumbler without shrink wrap?
If you're using a tumbler press. For oven sublimation, shrink wrap is highly recommended.
Why is my seam visible?
The design may not align correctly, or the transfer paper may overlap unevenly.
How long does sublimation last on a tumbler?
When done correctly, sublimation becomes a permanent part of the coating and can last for years.
Is a tumbler press or sublimation oven better?
A tumbler press is great for beginners. A sublimation oven offers more flexibility and higher production capacity for growing businesses.